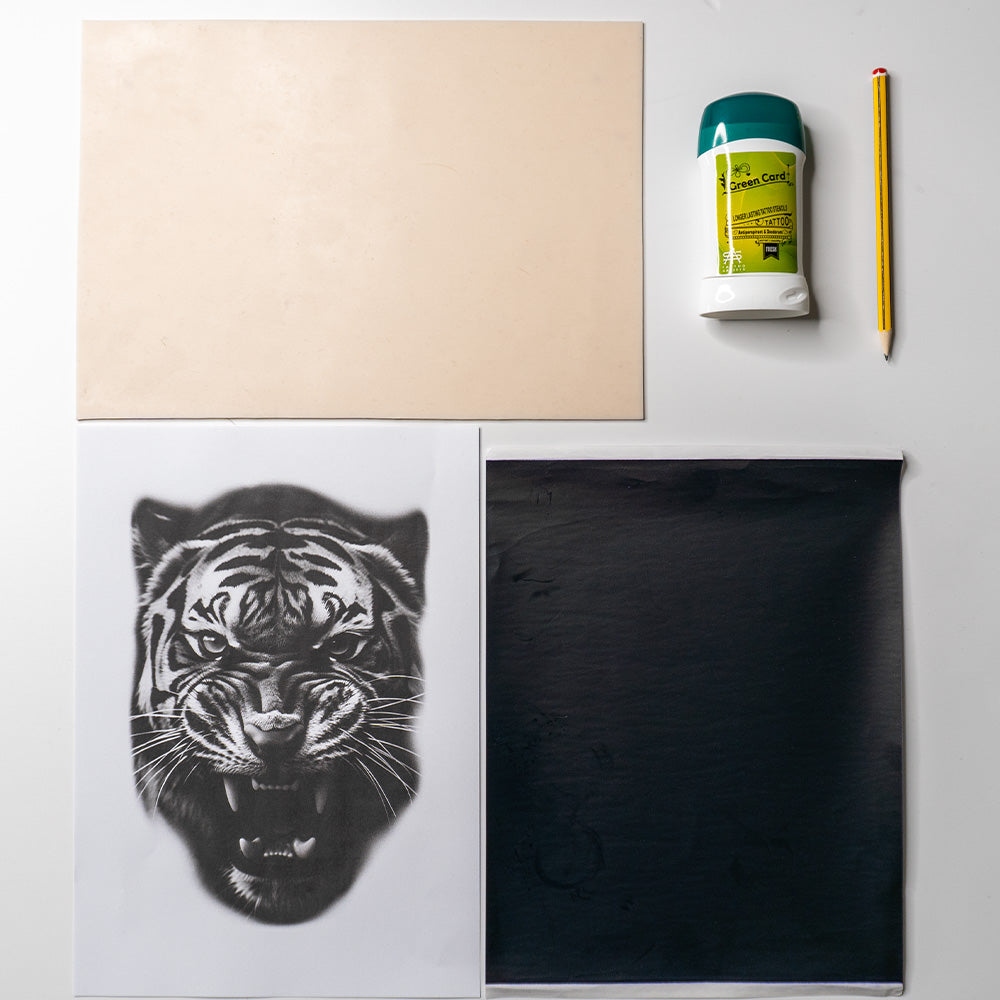
A Step-by-Step Guide on Creating a Tattoo Stencil with Tracing Paper and Carbon Paper
Introduction:
Are you interested in learning the art of tattooing? One of the fundamental skills every aspiring tattoo artist should master is creating a tattoo stencil. In this blog post, we will guide you through the process of making a tattoo stencil using tracing paper and carbon paper. Follow these steps, and you'll be on your way to creating stunning tattoo designs.
Step 1: Gather the necessary materials
To begin, gather the following materials:
- Tracing paper: a translucent paper that allows you to see through it.
- Carbon paper: a thin paper coated with carbon pigment on one side.
- Reference design: a printed or hand-drawn image that you want to transfer onto the skin.
- Tape or clips: to secure the tracing paper and carbon paper in place.
Step 2: Prepare the workspace
Find a well-lit and clean area to work in. Ensure that your work surface is smooth and won't damage the tracing paper or carbon paper.
Step 3: Place the reference design
Secure the reference design to your work surface using tape or clips. Make sure it's positioned where you want the tattoo to be placed on the skin.
Step 4: Layer the tracing paper and carbon paper
Take a sheet of tracing paper and place it on top of the reference design. Align the edges of both papers to ensure accurate tracing. Next, take a sheet of carbon paper and place it, carbon side down, on top of the tracing paper.
Step 5: Trace the design
Using a pen or a stylus, carefully trace the outline of the design onto the tracing paper. Apply enough pressure to transfer the carbon pigment from the carbon paper onto the tracing paper. Make sure to trace all the important details and lines accurately.
Step 6: Remove the papers
Once you've finished tracing, carefully remove the carbon paper and the reference design. Be cautious not to smudge or damage the transferred design on the tracing paper.
Step 7: Cut out the stencil
Using scissors, cut out the tattoo design along the traced lines on the tracing paper. Take your time and be precise to ensure a clean and accurate stencil.
Step 8: Apply the stencil to the skin
Clean the area of the skin where the tattoo will be placed. Ensure it's free from any oils, lotions, or dirt. Place the stencil, ink side down, onto the skin and press gently. Smooth out any wrinkles or air bubbles to ensure a proper transfer.
Conclusion
Creating a tattoo stencil is a crucial step in the tattooing process. By following these steps and using tracing paper and carbon paper, you can easily transfer your desired design onto the skin. Remember to practice and refine your stencil-making skills, as it is an essential skill for any aspiring tattoo artist.
If you're interested in learning more about tattooing, consider enrolling in tattoo academy courses. These courses provide comprehensive training and guidance to help you develop your skills and turn your passion into a profession.
Happy tattooing!


